A few years ago, my cousin gave me a manual pasta-making machine he picked up from a thrift store for $25, along with ravioli plates and a pasta drying rack. I had never made homemade pasta before, so it inspired me to learn. I was surprised at how easy it was. Basically, it’s no more difficult than making bread dough (which is easy, and I do it all the time), and homemade is always fresher and better. There were a few things I didn’t like, though, about the machine. One, it was manual, but worse, it had to be clamped on to something, which could be inconvenient. The pasta rack was made of wooden spindles you put together, so it was kind of a hassle, too. It was, however, a great start in making pasta at home.
In a recent intersection of events, I was shopping for a new Kitchen Aid stand mixer. I had an old classic Kitchen Aid that had finally worn out. I procrastinated about the purchase for some time (which I always do when making a big purchase). Meanwhile, I was shaking a lot of butter in quart jars. Shaking butter got old (lazy-R-us!), which ultimately pushed me to get my stand mixer situation resolved. (Making butter in a stand mixer is my favorite thing!) Then I thought–pasta attachments!
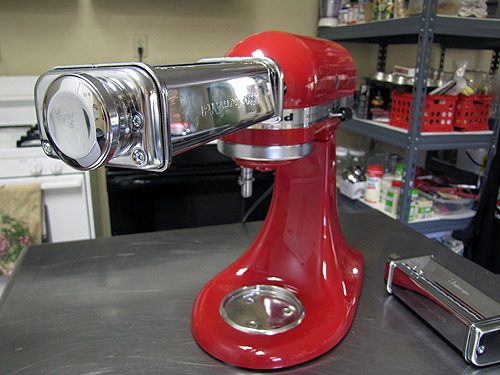
No more clamping a manual machine to something! (See my pretty new red Kitchen Aid? Ah! I love it!) I got the set that includes the basic roller, to roll out the pasta dough, and the fettucine and spaghetti cutters. I still have the ravioli-making plates my cousin got me, which work just fine if I’m making ravioli. Here is the new pasta drying rack I got.
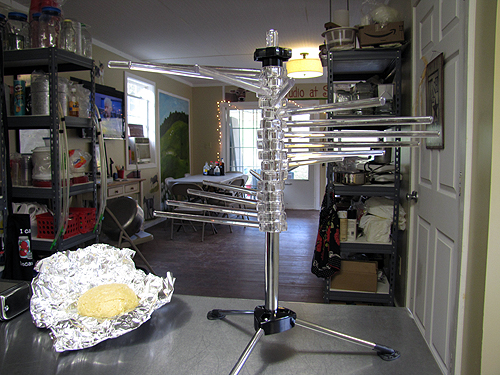
What I like about this rack is that it comes all together. No poking the wooden spindles into the stand every time, and it also folds down for compact storage.
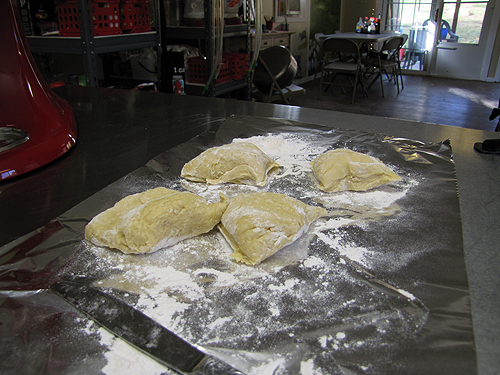
You can see the pasta recipe I use here–it’s just a basic pasta dough. Make the dough, let it rest for a few minutes, then divide it in four pieces.
Put each piece through the roller several times, increasing the settings slowly, to flatten it out.
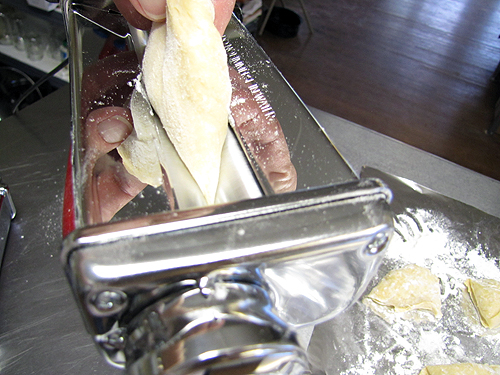
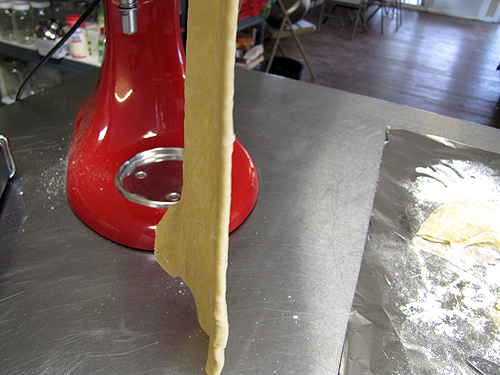
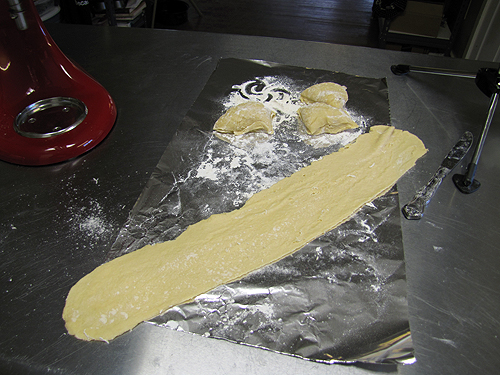
After rolling out each piece, cut it in half or your pasta pieces will be really long and difficult to handle.
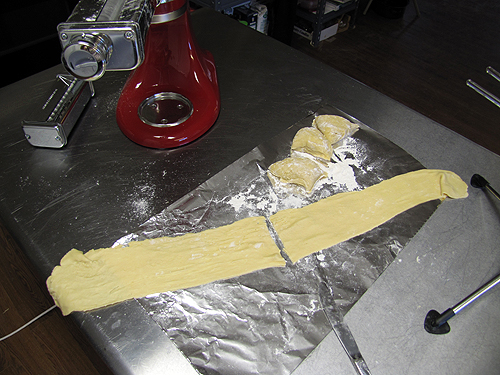
Then the cutter goes in–I was using the fettucine cutter.
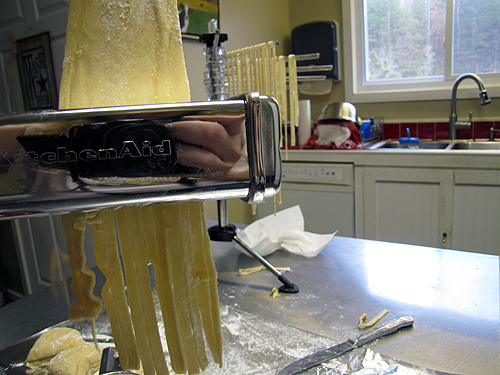
Hang the pieces on the rack!
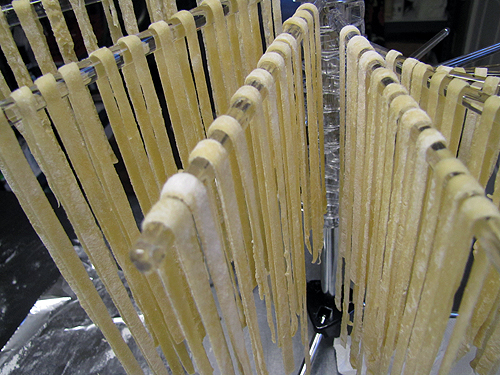
Wow, that came out pretty, didn’t it? I absolutely love the pasta attachments, my new Kitchen Aid, the rack, everything. (And I’m back to loving making butter again, too.)
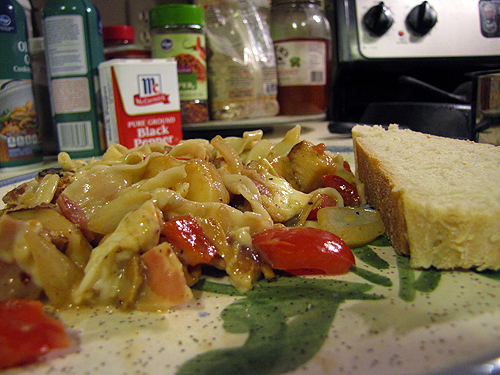
I had fettucine in a light alfredo sauce with scallops and peppers for dinner that night.

If you want to check out any of these products… Here are the links. (I always hesitate to put in product links, but I’ve actually had people write me to complain that I don’t put in links because they want them.)
Kitchen Aid Artisan Stand Mixer
Pasta Attachments
Pasta Drying Rack
You can also get a ravioli maker like I have here.


oakdalefarm says:
If you haven’d discovered Chef Pasquale yet, you’re in for a great Italian chef and entertainment. Find his stuff on Youtube at Orsararecipes. He is the real deal Italian chef. His pasta videos are just priceless! Love reading your posts.
On October 27, 2014 at 10:18 am
mamajhk says:
I have one of those manual pasta machines and use it for making noodles. I have found that if I let the rolled out dough dry just a little bit it cuts better. My 9 year old granddaughter was here one day while the machine was set up and of course grandma had to show her how is work. I went through the steps using a piece of bread and she delighted in feeding her dad bread noodles.
On October 27, 2014 at 9:20 pm
Cousin Mark says:
Since you have a machine to do the hard work , how about a sample of its output????? pasta would be ok…… deer and pepper ravioli, linguini and meat balls????? You know the way to the test site.
On October 28, 2014 at 12:13 am
rileysmom says:
KitchenAid’s pasta extruder attachment is also a fun little kitchen toy…..ooops! Tool! I meant tool!
Once you’ve tried home made pasta, you’ll never go back to boxed!
On October 29, 2014 at 4:57 pm
Rosella says:
I have the very same “lipstick red” KitchenAid and I love it too. I’ve been thinking of getting the pasta attachment and this post has inspired me! The drying rack looks great as well. Thanks so much for including the links – so helpful. I don’t comment very often but always enjoy your bog so much. Bon Appetit!
On November 1, 2014 at 11:25 pm
holstein woman says:
Suzanne, I used my Kitchen Aid to make butter until I was doing it all the time because I was selling so much. Then I bought a 3 gallon churn which sits around and doesn’t get used at all since I don’t milk cows anymore. I love using mine for lots of things even grinding grains.
I know you will find more and more uses for it and really have a great time with every piece.
On November 3, 2014 at 3:58 pm
ibpallets (Sharon B.) says:
So…Suzanne….you know I’ve got to get this attachment
On November 3, 2014 at 7:06 pm
Glenda says:
The Devil made me do it! except it was actually you, Suzanne. I read this and bought it for my Professional KA. I love it! It was so much fun, even my husband came and watched it coming so perfectly our of that machine. Now I have to research and see what that ‘extruder’ is. I may have to have that too.
I use my food processor to make butter on the rare occasions I have enough cream on hand.
On November 10, 2014 at 8:09 am